
A Better Android Emulator
Looking for a better Android emulator? Sure you are. I won’t even get into how slow the stock Android emulator is. If you use it, you know. If you haven’t used it, you don’t want to know. Luckily a better emulator is available using Virtualbox and Genymotion.
This is how I setup Genymotion on OSX.
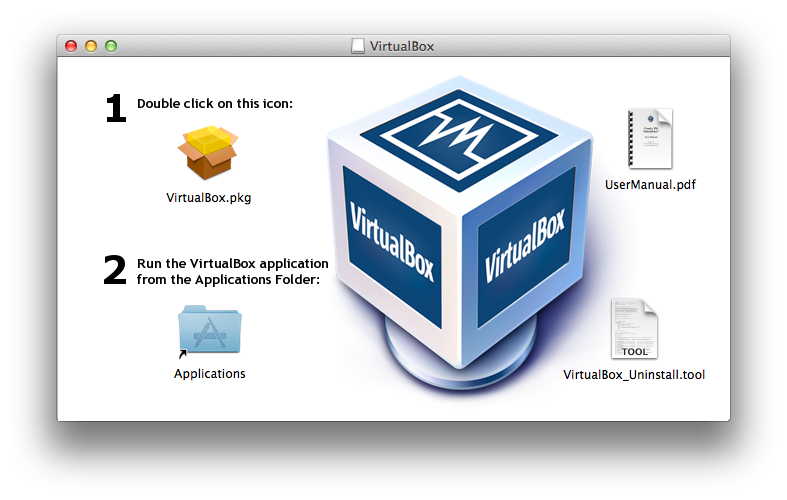
- Download and install Virtualbox. Nothing complicated here. Just download, launch the dmg file and follow the instructions.
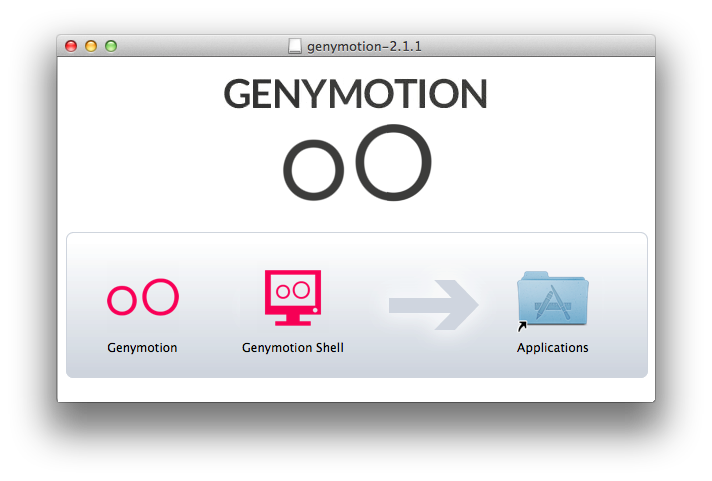
- Download and install Genymotion. You will need to create a login for genymotion.com to download the application. This username and password is needed later to setup your virtual machine. Download genymotion, launch the dmg, and follow the instructions.
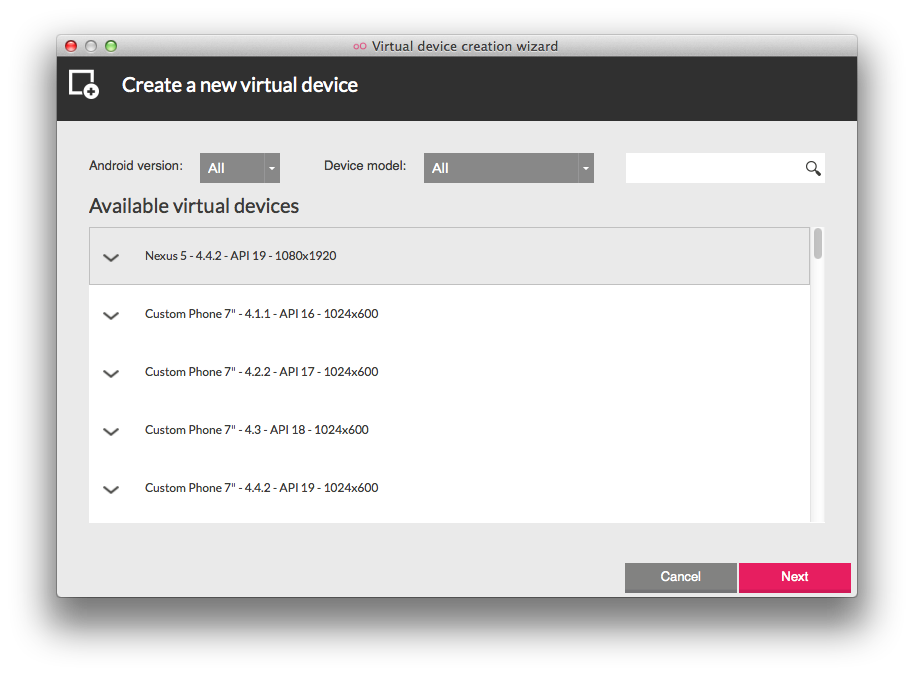
- Create a new Virtual Device. Launch Genymotion and you should have an empty list of virtual devices. Click add, you can use the filters or just scroll through the list to choose the device. In this case I chose the Nexus 5. If your list of available virtual devices is empty, you will need to sign in to your Genymotion account in the application.
-
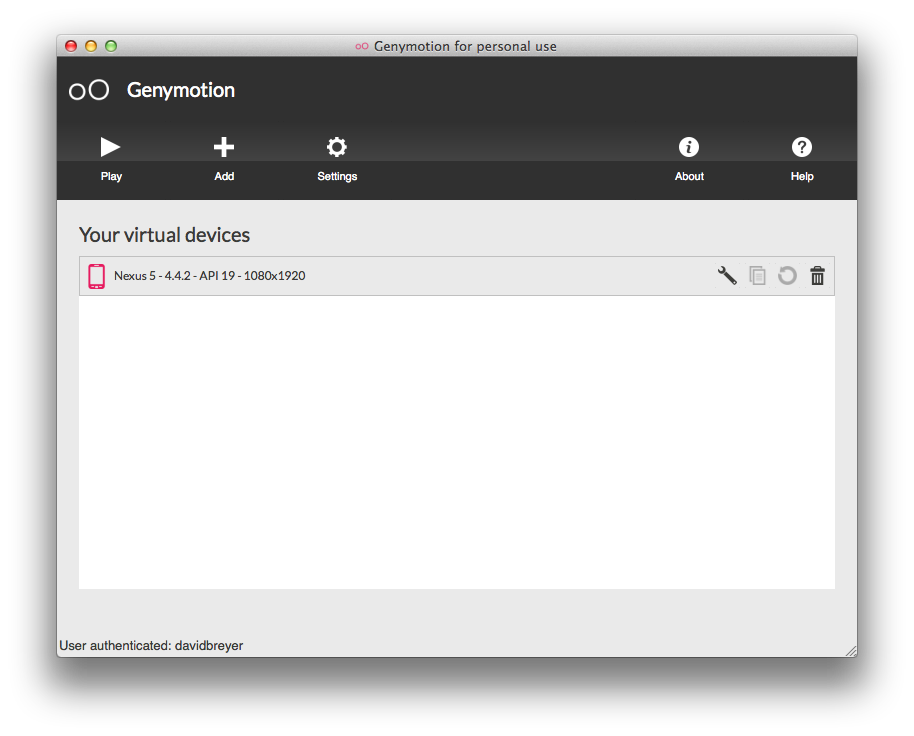
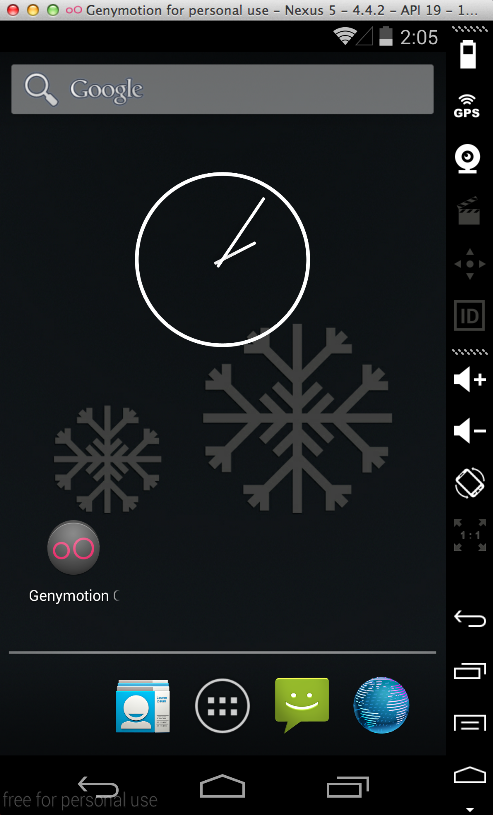
Start your new Virtual Device In Genymotion application, choose the newly created virtual device and click play. Wait for the virtual device to load. It should appear like a Nexus 5.
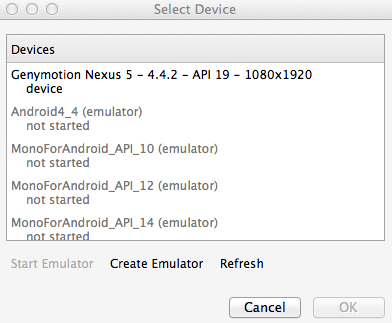
- Deploy your Xamarin project to the new Virtual Device. When you run your Android application in Xamarin a popup window will appear where you can select your device. If your new virtual machine is running, it will appear in the list.
- Rejoice that it no longer takes 10 minutes to debug your Android project.
Deployment failed. Assembly synchronization error.
If you get this error when attempting to run your application. Open the options of your Android project in Xamarin. Go to Android Build in the list. Uncheck the “Fast Assembly Deployment” option.

View Comments...